
Dealing with clover in your lawn is a common challenge for many homeowners. The best way to get rid of clover in your lawn depends on your preferred methods and the extent of the infestation, with options ranging from manual removal and natural solutions to chemical treatments.
Clover, particularly white clover (Trifolium repens), is a hardy perennial that can quickly take over a lawn. Its low growth habit and ability to fix nitrogen can make it seem beneficial, but its aggressive spreading and tendency to outcompete desirable grass species often lead homeowners to seek effective clover removal strategies. This comprehensive guide will delve into the most effective methods for clover removal, providing you with the knowledge to reclaim a lush, healthy lawn. We’ll explore various approaches to kill clover lawn, from the gentlest to the most robust, ensuring you find the right clover treatment for your specific needs.
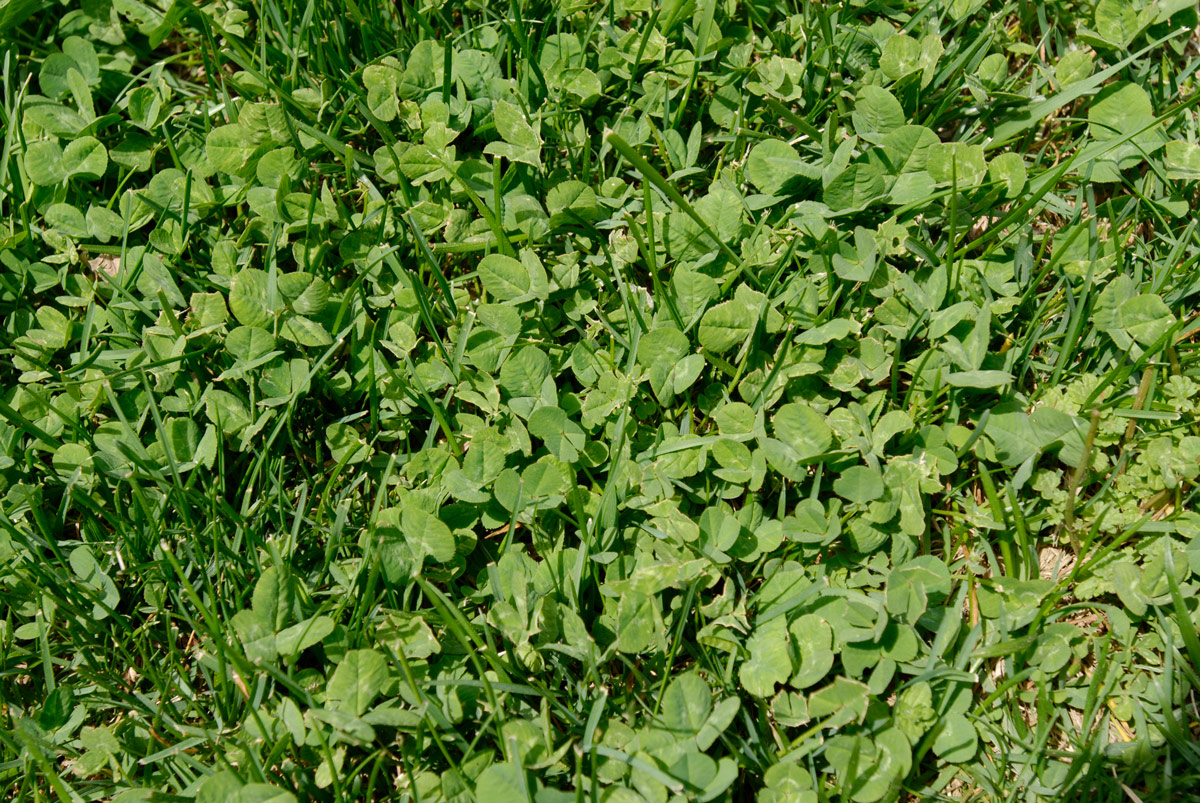
Image Source: naturalawn.com
Why Does Clover Grow in My Lawn?
Before we dive into clover control, it’s helpful to understand why it thrives in certain lawn conditions. Clover seeds are often present in new grass seed mixes, and they can lie dormant for years. They are also easily spread by birds and foot traffic. Clover flourishes in lawns that are lacking in vigor.
Here are the primary reasons clover finds your lawn appealing:
- Poor Soil Fertility: Clover is a nitrogen fixer. This means it can take nitrogen from the air and convert it into a form that plants can use. When your soil is low in nitrogen, grasses struggle, but clover can still grow well. This nitrogen then becomes available in the soil, further benefiting the clover.
- Low Mowing Height: Mowing your grass too short weakens the turf. It exposes the soil to sunlight, which clover loves, and gives clover a competitive edge. Taller grass shades the soil and discourages clover growth.
- Compacted Soil: Compacted soil restricts air, water, and nutrient movement to grass roots. This stress makes grass more susceptible to diseases and pests, opening the door for clover to invade.
- Drought Stress: While some grasses can go dormant during dry periods, clover often remains green and actively grows, especially with its deep root system.
- pH Imbalance: Clover prefers slightly acidic to neutral soil pH levels. If your soil pH is too acidic, it can favor clover over certain grass types.
Methods for Clover Removal
Now that we know why clover appears, let’s explore the most effective ways to get rid of white clover.
Manual Clover Removal
For small infestations or for those who prefer a chemical-free approach, manual removal is a viable option. This method is labor-intensive but highly effective for localized patches.
Tools for Manual Clover Removal:
- Dandelion Weeder or Core Aerator: These tools are excellent for getting under the clover roots.
- Garden Fork: Can be used to loosen soil and lift larger patches of clover.
- Gloves: To protect your hands.
- Wheelbarrow or Tarp: To collect the removed clover.
Steps for Manual Clover Removal:
- Timing: The best time to manually remove clover is when the soil is moist, making it easier to pull the entire root system. After a rain or watering is ideal.
- Loosen the Soil: Use a garden fork or trowel to loosen the soil around the base of the clover patches.
- Extract the Clover: Carefully insert your tool under the clover plant, ensuring you get as much of the root as possible. Gently pull the clover out of the ground.
- Dispose of Clover: Place the removed clover in a bag or wheelbarrow immediately to prevent seeds from scattering. Do not compost clover with flowers or seed heads, as they can survive and sprout.
- Repair the Area: Once the clover is removed, you’ll likely have bare patches. Fill these areas with good quality topsoil and reseed with your desired grass type. Keep the newly seeded area consistently moist until germination.
Pros of Manual Removal:
- Environmentally friendly.
- No chemicals involved.
- Immediate results for the removed patches.
Cons of Manual Removal:
- Time-consuming and labor-intensive for large areas.
- May not remove all root fragments, potentially leading to regrowth.
- Can leave bare spots that need reseeding.
Natural Clover Killer Options
If you’re looking for a natural clover killer, several organic methods can help manage clover populations without resorting to synthetic herbicides. These methods often focus on improving lawn health to outcompete the clover.
Improving Lawn Health: The Ultimate Natural Clover Treatment
The most sustainable way to get rid of white clover is to create a lawn environment that favors grass over clover. This involves addressing the underlying issues that allow clover to thrive.
- Proper Mowing: Mow your grass at the higher end of the recommended height for your grass type. For most cool-season grasses, this is around 3 to 3.5 inches. Taller grass shades the soil, reducing sunlight for clover seedlings and allowing grass to develop deeper roots.
- Consistent Watering: Water deeply and infrequently. This encourages grass to develop deep root systems, making it more drought-tolerant than clover. Avoid light, frequent watering, which encourages shallow roots and can favor clover.
- Fertilization: Apply fertilizer at the right times for your grass type. This replenishes soil nutrients, especially nitrogen, which helps grass grow thicker and outcompete clover.
- Aeration: Core aeration helps alleviate soil compaction, allowing better air, water, and nutrient penetration to grass roots. It also helps break up the dense mat that clover can form.
- Dethatching: Excessive thatch can suffocate grass roots and create an ideal environment for clover. Dethatching removes this layer.
- Overseeding: Overseeding your lawn annually with a high-quality grass seed mix can fill in thin areas and increase the density of your turf, making it harder for clover to establish.
Organic Herbicides and Treatments
While often referred to as “weed killers,” some organic options can also affect clover.
- Vinegar (Acetic Acid): Household vinegar (5% acetic acid) can burn and kill the top growth of clover. However, it’s a non-selective herbicide, meaning it will also damage or kill grass. For effective clover removal with vinegar, you need a higher concentration (10-20% horticultural vinegar).
- Application: Apply directly to clover on a sunny, warm day. Reapplication may be necessary. Be extremely careful not to spray onto desired grass.
- Caution: Vinegar is non-selective and can harm beneficial insects.
- Corn Gluten Meal: This is a pre-emergent weed suppressant. It works by inhibiting root formation in germinating seeds. Apply in early spring before clover seeds, or grass seeds, begin to germinate. It also acts as a natural fertilizer.
- Pros: Natural, safe for pets and humans, acts as a fertilizer.
- Cons: Not effective on established clover plants, timing is crucial.
- Boiling Water: Pouring boiling water directly onto clover patches can effectively kill them, roots and all. This is best for very small, isolated patches and requires caution.
Pros of Natural Methods:
- Environmentally friendly and safe for pets and children.
- Focuses on long-term lawn health.
- Often less expensive in the long run.
Cons of Natural Methods:
- May take longer to see significant results.
- Requires consistent effort and proper timing.
- Some methods (like boiling water or strong vinegar) can damage grass if not applied carefully.
Chemical Weed Control: Clover Herbicide Options
When natural methods aren’t enough, chemical herbicides can be very effective for clover control. The best way to remove clover using chemicals involves selecting the right product and applying it correctly.
Selective Herbicides for Clover
The key to effective chemical clover treatment is using a selective herbicide that targets broadleaf weeds (like clover) without harming grass.
- Common Active Ingredients: Look for products containing:
- 2,4-D: A widely used broadleaf herbicide that is effective against clover.
- Dicamba: Another potent broadleaf herbicide that can be combined with 2,4-D for a broader spectrum of weed control.
- MCPP (Mecoprop): Often found in combination with 2,4-D and dicamba.
- Triclopyr: Effective against stubborn broadleaf weeds.
- Quinclorac: Particularly effective against crabgrass but also works on clover.
- Mesotrione: A newer herbicide that works by inhibiting a specific enzyme in weeds, leading to whitening and eventual death. It is safe for most turfgrasses.
Types of Clover Herbicides:
- Liquid Concentrates: These require mixing with water and applying with a sprayer. They offer more control over application but can be more challenging for beginners.
- Ready-to-Use Sprays: Convenient for spot treatment, these are pre-mixed and can be applied directly from the container.
- Granular Herbicides: These are mixed with fertilizer and applied with a broadcast spreader. They offer slow-release weed control and fertilization in one step.
Application Tips for Clover Herbicides:
- Read the Label: This is the most crucial step. Always read and follow the manufacturer’s instructions and safety precautions. The label will specify which grass types the product is safe for, the correct application rates, and the best time to apply.
- Timing: The best time to apply a clover herbicide is when clover is actively growing and young. This is typically in the spring or fall when temperatures are moderate (between 60°F and 85°F) and there is no rain expected for at least 24-48 hours. Avoid applying during extreme heat, drought, or when the grass is stressed.
- Mow Before or After: Generally, it’s best to mow your lawn 2-3 days before applying a liquid herbicide. This allows the weeds to be exposed and the herbicide to be absorbed effectively. For granular applications mixed with fertilizer, follow the product’s specific instructions. Some recommend not mowing for a few days after application to allow the herbicide to work.
- Spot Treatment vs. Broadcast Application: For scattered clover, spot treatment is more efficient and reduces the amount of herbicide used. Use a sprayer to target only the clover patches. If you have a widespread infestation, a broadcast application using a spreader or sprayer may be necessary.
- Avoid Overlap: When using a sprayer, try to apply evenly and avoid overlapping heavily, which can damage the grass.
- Watering After Application: Some herbicides require watering shortly after application to be activated, while others are harmed by watering. Always check the label.
- Persistence: You may need multiple applications to completely kill clover lawn, especially for mature plants. Wait at least 2-4 weeks between applications, as directed by the product label.
Table 1: Popular Herbicides for Clover Control
| Herbicide Type | Common Active Ingredients | Best For | Considerations |
|---|---|---|---|
| Broadleaf Liquid | 2,4-D, Dicamba, MCPP, Triclopyr | Active clover infestations | Requires careful application, can damage grass if misused. |
| Broadleaf Granular | Similar to liquids, often mixed with fertilizer | General clover management, convenience | Even application with spreader needed, can be slow-acting. |
| Spot Sprays | Various selective broadleaf formulas | Small, localized clover patches | Convenient, but ensure it’s safe for your lawn type. |
| Post-Emergent | Targets actively growing weeds | Killing existing clover | Timing and temperature are critical for effectiveness and safety. |
| Pre-Emergent | Inhibits seed germination | Preventing new clover from growing | Not effective on established clover, timing is crucial. |
Pros of Chemical Herbicides:
- Highly effective and often provide quick results.
- Can target specific weeds without harming grass when used correctly.
- Available in various convenient forms.
Cons of Chemical Herbicides:
- Can be harmful to the environment and non-target organisms if misused.
- Requires careful reading of labels and precise application.
- May require multiple applications.
- Can stress grass if applied during unfavorable conditions.
Combining Methods for Comprehensive Clover Control
Often, the best way to remove clover and prevent its return involves a multi-pronged approach. This strategy addresses both existing clover and the underlying conditions that promote its growth.
Step-by-Step Integrated Approach:
-
Assessment and Diagnosis:
- Identify the extent of your clover problem. Is it scattered patches or a widespread issue?
- Determine why clover is thriving in your lawn by examining soil fertility, pH, mowing height, and compaction.
-
Improve Lawn Health (Foundation for Clover Control):
- Adjust Mowing: Raise your mower to the highest setting suitable for your grass.
- Water Wisely: Water deeply and less often.
- Fertilize Appropriately: Feed your lawn with a balanced fertilizer, addressing any nutrient deficiencies.
- Aerate and Dethatch: Address soil compaction and thatch buildup to promote healthy grass growth.
-
Active Clover Removal:
- Small Patches: Use manual clover removal or spot treat with a natural clover killer like horticultural vinegar.
- Larger Infestations: Apply a selective clover herbicide. Choose a product specifically labeled for broadleaf weed control in your type of turfgrass. Follow application instructions meticulously. Consider a post-emergent herbicide that targets broadleaf weeds.
-
Overseeding and Strengthening Turf:
- After treatment or manual removal, fill any bare spots by overseeding with a high-quality grass seed blend. This will help your lawn become denser and more competitive against future clover invasions.
- Ensure new grass receives adequate water and nutrients.
-
Prevention is Key:
- Corn Gluten Meal: Apply in early spring and fall as a pre-emergent to prevent new clover seeds from establishing. This is a great natural clover killer for prevention.
- Maintain Healthy Lawn Practices: Continue with proper mowing, watering, and fertilization to keep your grass healthy and strong, making it less hospitable to clover.
- Monitor and Reapply: Regularly inspect your lawn for any signs of returning clover and address them promptly. You may need to reapply herbicides or perform manual removal on new sprouts.
What to Do With Removed Clover
When you manually remove clover or use a herbicide that kills it, you’ll have dead or dying clover material in your lawn.
- Manual Removal: Bag the removed clover and dispose of it in your trash or a municipal composting facility that can handle weed seeds. Avoid putting it in your home compost bin unless you’re sure it won’t go to seed.
- Herbicide Treatment: If you used a chemical herbicide, the dead clover can usually be left on the lawn to decompose. It will break down naturally and can even contribute nutrients back to the soil. However, if you have large, unsightly clumps of dead clover, you can rake them up and compost them or dispose of them as described above.
Frequently Asked Questions About Clover Removal
Can I Kill Clover with Salt?
While salt (sodium chloride) can kill plants, it is not recommended for killing clover in your lawn. Salt is non-selective and will kill your grass along with the clover. Furthermore, salt can build up in the soil, making it toxic to plants for a long time and damaging soil structure. It’s a last resort that causes more harm than good in a lawn setting.
When is the Best Time to Treat Clover?
The best time to kill clover lawn with herbicides is when the clover is actively growing and young, typically in the spring or fall. During these periods, temperatures are usually moderate (60-85°F), and the grass is also actively growing, which helps it recover from any temporary stress caused by the herbicide. Avoid treating during extreme heat, drought, or when the grass is already stressed.
Will My Grass Grow Back After Clover is Removed?
Yes, if you’ve managed the clover effectively and addressed the underlying lawn health issues, your grass should grow back and fill in any thinner areas. Overseeding bare patches after clover removal can help accelerate this process. A healthy, dense lawn is the best defense against future clover infestations.
Is Clover Bad for My Lawn?
Clover itself isn’t inherently “bad.” It does add nitrogen to the soil, which can be beneficial. However, when it becomes the dominant plant in your lawn, it can create an uneven appearance, reduce the resilience of your turf, and may be more susceptible to certain diseases or pests that affect clover specifically. For many, a lawn dominated by clover is not the desired aesthetic or performance goal.
How Do I Prevent Clover from Coming Back?
Prevention is a key aspect of long-term clover control. Focus on creating a dense, healthy lawn by:
* Mowing at the correct height (usually higher).
* Watering deeply and infrequently.
* Fertilizing appropriately.
* Aerating to prevent soil compaction.
* Overseeding annually to fill in thin spots.
* Using pre-emergent herbicides like corn gluten meal in early spring and fall to stop seeds from germinating.
By understanding the causes of clover growth and implementing a consistent lawn care strategy, you can effectively manage and prevent clover from taking over your lawn, ensuring a healthy, attractive turf for years to come.